 May 30, 2026
 Build Apps with Your Favorite Chatbot. Give Them Superpowers with Teacher Hive.
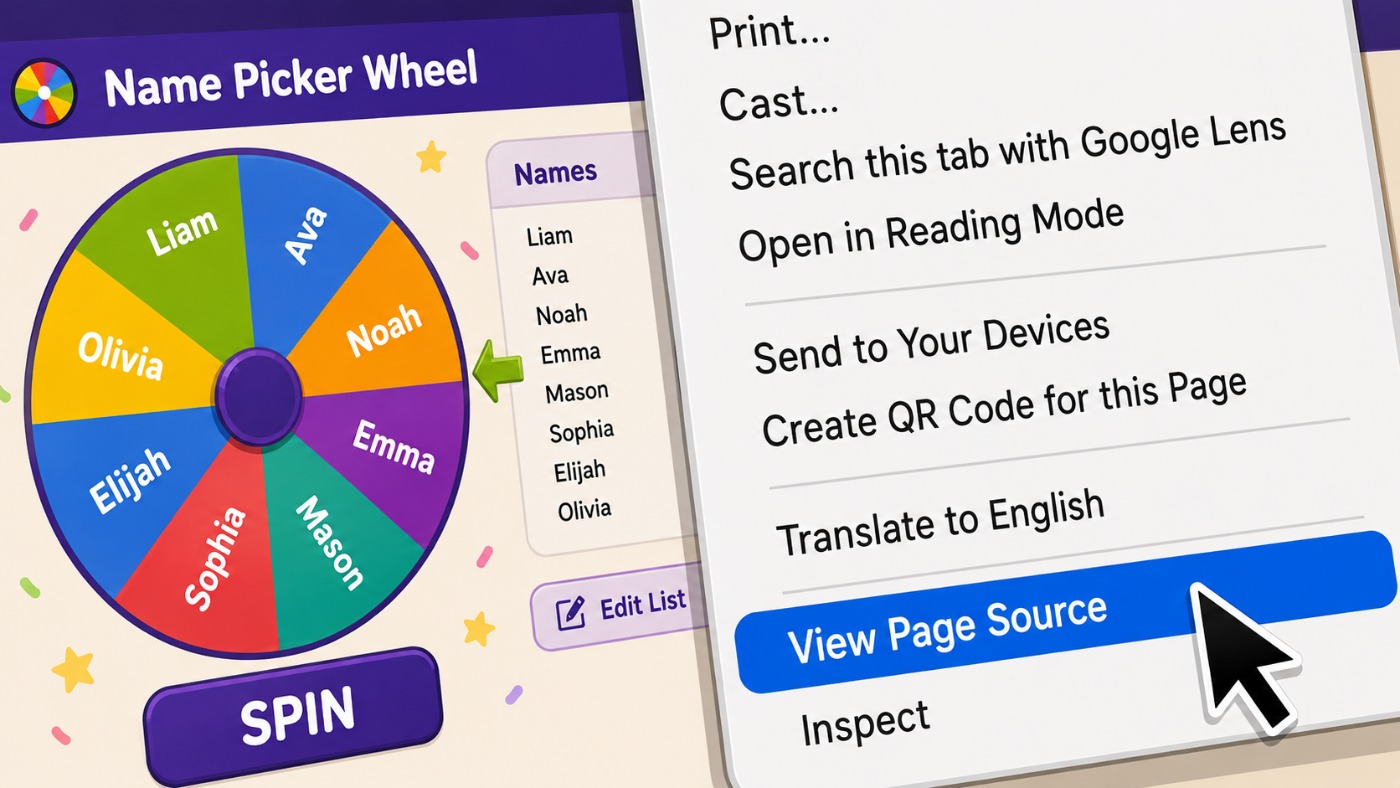
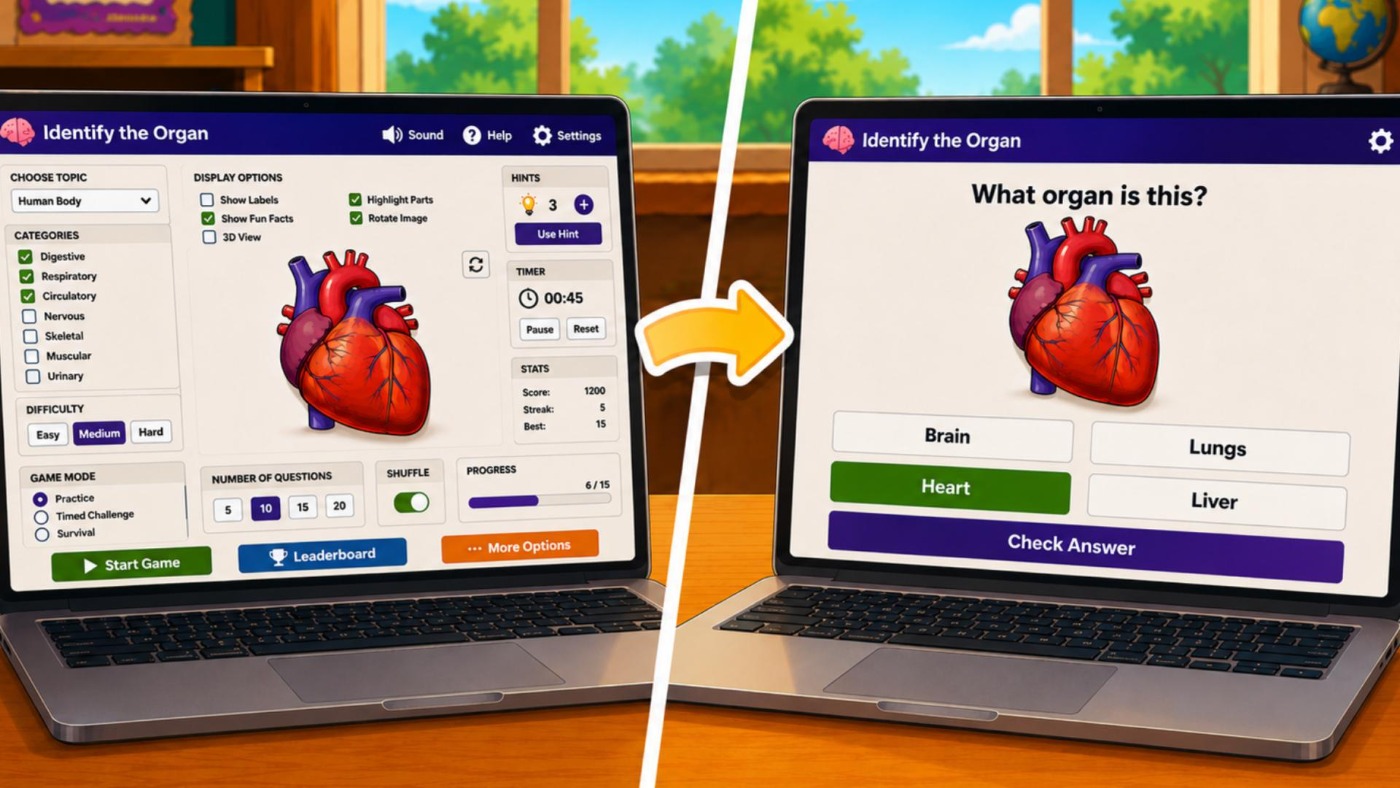
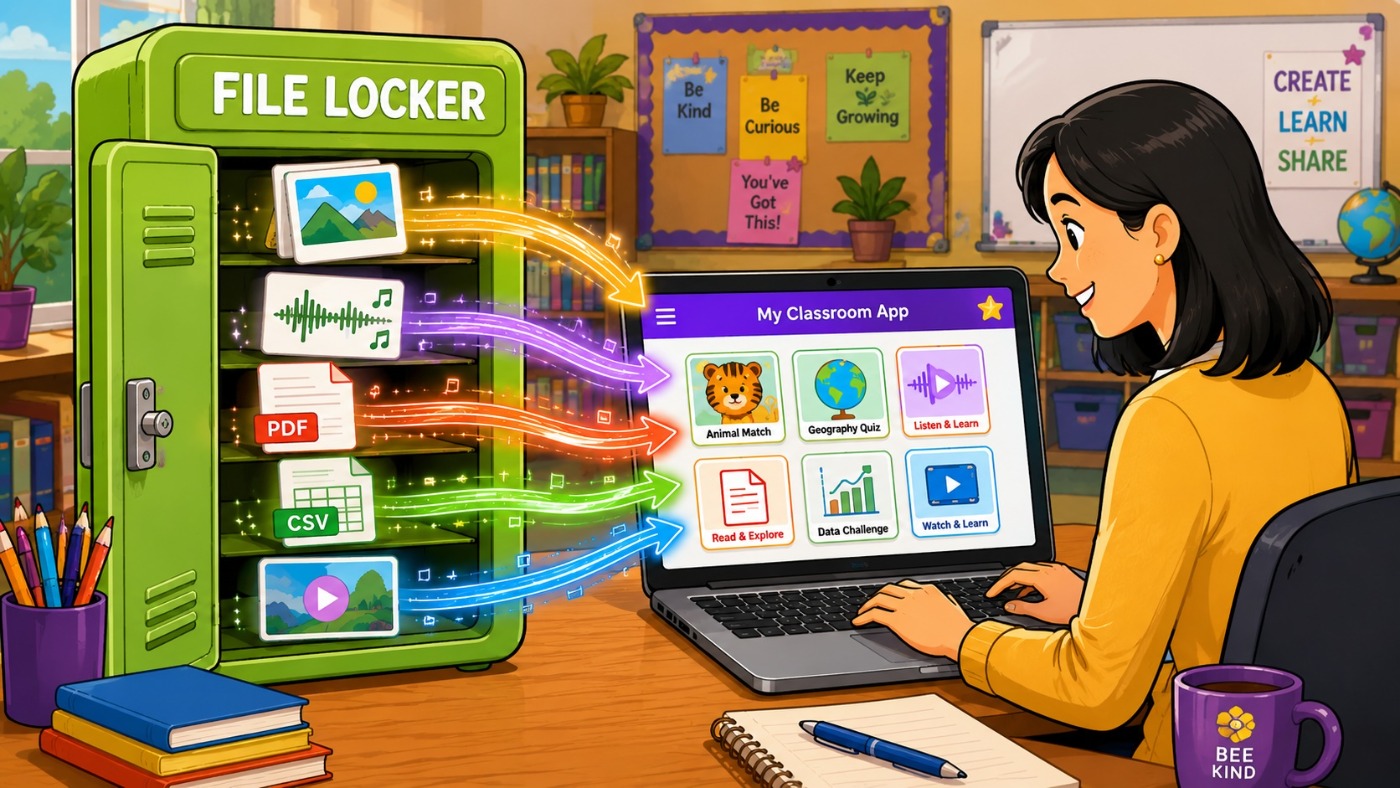
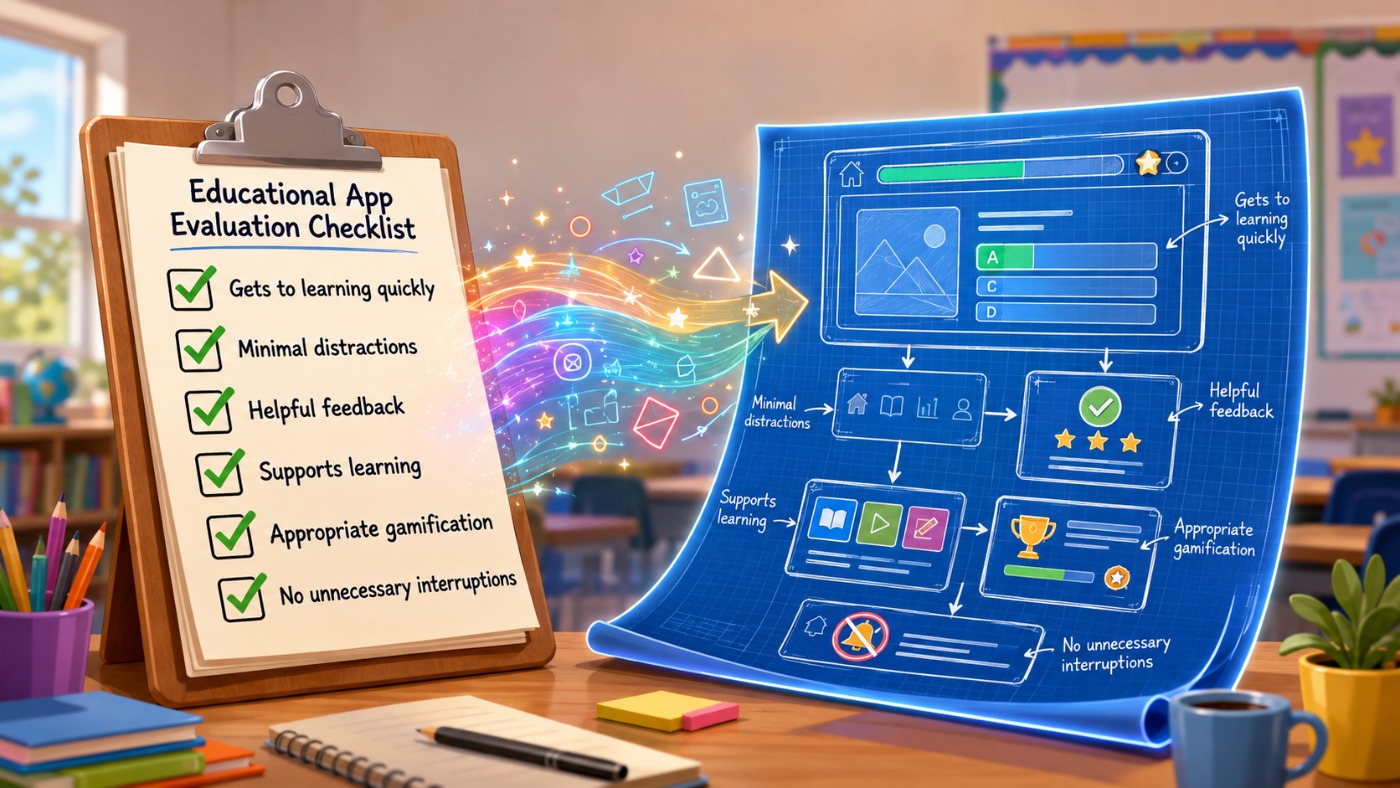
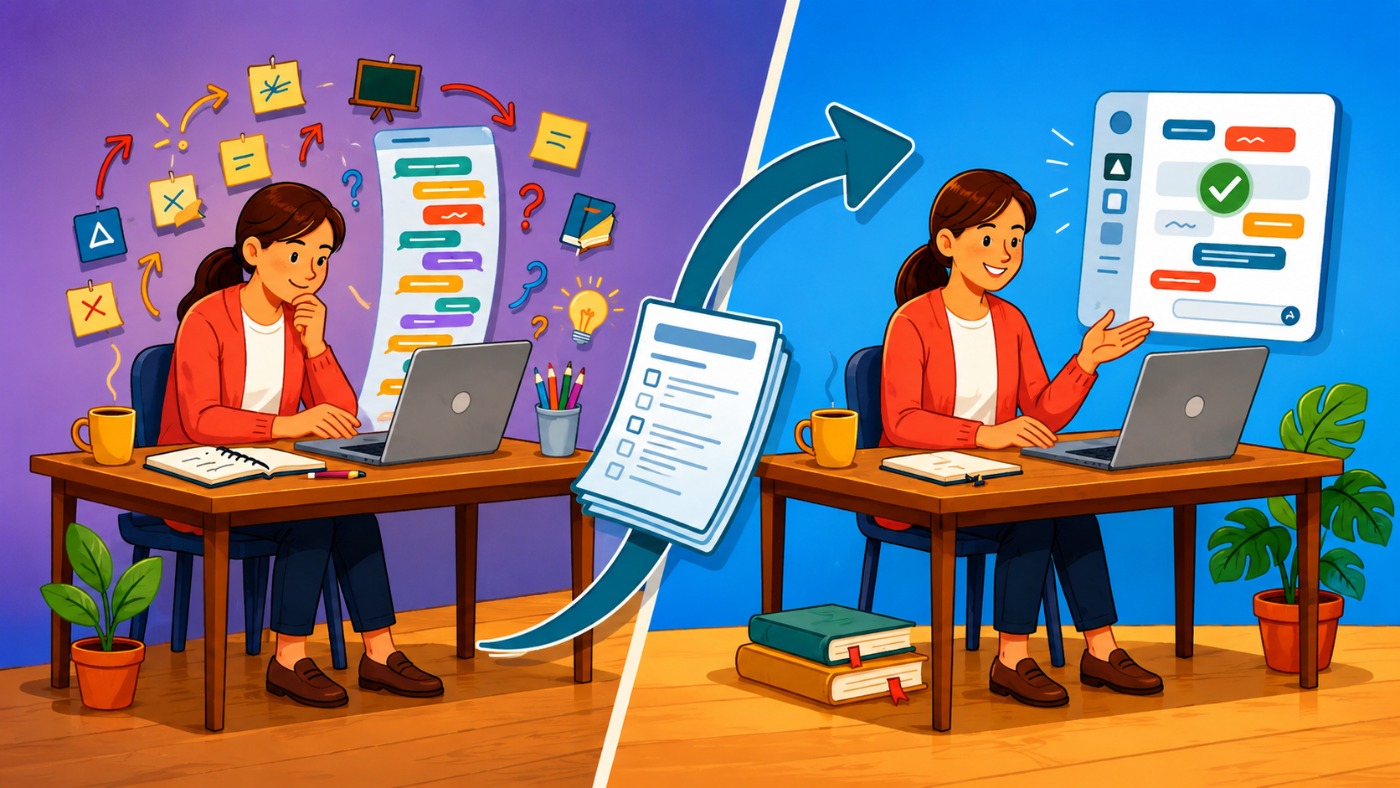
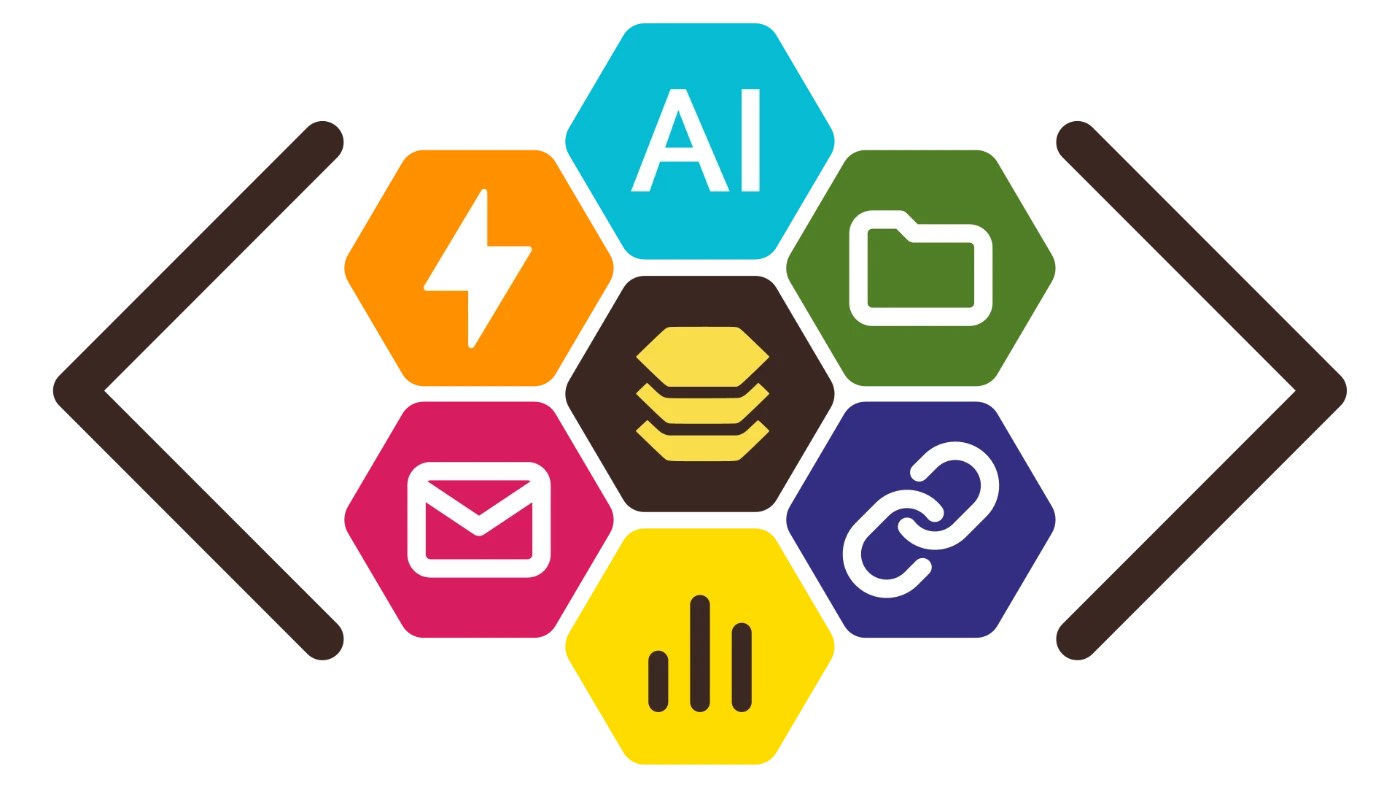
Building apps with your favorite chatbot, whether that's ChatGPT, Gemini, Claude, or something else, gives you a ton of freedom. Just describe what you want in plain English, make a few tweaks, and start building. You don't need to learn a complicated programming workflow to create useful classroom tools. This is called vibe coding. Unlike many AI app-building platforms that require their own subscription or usage fees, you can vibe code with a free chatbot account or use a subscription you already have. Since your code isn't tied to one platform, you can jump between AI tools, compare results, and keep going if you run into limits on one service. Use whatever works best for you, and then bring that code to Teacher Hive for hosting. The Missing Pieces These chatbots are great at creating single-page web apps, but there are still things that are difficult or impossible for them to do on their own. Saving information, sharing data between users, sending emails, connecting to AI models securely, storing files, and monitoring views usually require servers, databases, and services running behind the scenes. I've built a way for apps hosted on Teacher Hive to tap into those capabilities while still being created with your favorite chatbot. I'm calling them Superpowers. What Superpowers Make Possible With Teacher Hive Superpowers, you can transform a simple app into an interactive classroom experience. Turn on features that make apps collaborative, intelligent, and engaging. Think live game shows, student-vs-student challenges, shared class boards, real-time word clouds, audience Q&A displays, global leaderboards, daily puzzles, and more. What excites me most is that these aren't features built into a specific app. They're building blocks you can combine in whatever way makes sense for your idea. A live trivia game. A classroom discussion board. A daily challenge with a leaderboard. An AI-powered study buddy. A gallery walk where students upload and share photos. If you've ever thought, "I wish there was an app that could..." there's a good chance you can build it. And when you're done, it's your app. You can modify it, remix it, and keep improving it whenever inspiration strikes. How It Works To tap into a Superpower, you simply copy instructions from Teacher Hive that tell your chatbot how to write code that integrates with Teacher Hive's server. Your chatbot codes the app, and when the code is hosted on Teacher Hive, it just works. Meet the Lineup Six Superpowers bring handy functionality to your teacher-made apps. Connected Superpower Build a database-backed app that has two views: Teacher and Guest. The teacher view is what you see and control. The guest view is what students can see and do. This opens the door to apps that simply weren't possible before. Run live polls and see results appear instantly. Create classroom games where students compete against one another. Build collaborative boards, audience participation activities, classroom challenges, and apps where you can update content from the Teacher view without touching the code. AI Superpower Add AI capabilities to your app. Bring your own API key from OpenAI, Anthropic, or Gemini, and your app can generate text, classify responses, recognize images, or create new images. Teacher Hive stores your key securely behind the scenes, so it isn't exposed in your app's code where someone else could access it and generate charges on your AI account. Additionally, you set your daily AI spending limit so you don't get any surprisingly large bills from your AI provider. File Locker Superpower Chatbots can generate the HTML for your app, but they can't host files. Teacher Hive fills that gap by hosting your images, recordings, PDFs, and other resources. Upload files to the File Locker and use the generated URLs in your chatbot prompts so they can be included in your app. Short Link Superpower Let your app turn long web addresses into short, easy-to-share links right inside the app. Instead of sharing a long, messy URL, it can instantly generate something like link.apphive.us/abc2p7 , making links easier to read aloud, type on a phone, or write on a whiteboard. Email Superpower Your app can automatically send you an email based on triggers you define, such as when a guest completes an activity or submits a form. Guests never need to enter an email address because the app is preconfigured to deliver responses directly to the inbox of the teacher who published it. Stats Superpower Curious which apps students are actually using? The Stats Superpower gives you a clear view of how your apps are performing across Teacher Hive. Track daily views, spot trends over time, and see which activities are catching on. On the My Apps page, each app displays a badge showing its total number of launches. Click the badge to open a detailed App Stats page with deeper insights and metrics. About Hive Superpowers Usage Superpowers do real computing work behind the scenes. Setting up databases, storing files, syncing data, sending emails, and processing AI requests all require cloud resources. Teacher Hive relies on services like Firebase, Google Cloud, Resend, and Cloudflare to power these features, and each operates on a usage-based pricing model. As usage increases, so does the bill. To keep costs manageable, your account includes a Hive Superpowers Usage meter that you can view anytime in My Settings . Only apps using Superpowers register activity on the meter. Data reads, writes, and AI calls count toward the cap, and most teachers will never come close to it. About Hive Pro Teacher Hive is free for students, guests, and anyone who follows a link to a teacher's app. No ads, no signups, no surprises. Hive Pro is how you can help keep it that way. The free Hive Builder gives you everything you need to create and publish apps. Hive Pro unlocks the Superpowers that help those apps do even more. Subscribing helps cover the hosting costs that keep Teacher Hive running for everyone. In return, you get every Superpower, generous Hive Usage limits, and my sincere gratitude. To see the breakdown between the free Hive Builder and paid Hive Pro membership tiers, visit the Plans page. I hope you'll consider supporting Teacher Hive by signing up for Hive Pro. Ready to Build? I've written a Help page for each Superpower and you can search the Help pages using Teacher Hive's Search page . Also know that I am just an email away. I'm here to help, and I'm here to listen to your ideas for improving Teacher Hive. I've already been having a blast building with Superpowers. Honestly, that's why Superpowers exist: because I wanted to add these abilities to my own apps. Build something super this week. I can't wait to see what you create!